Design Guideline Offers Tolerances for Achieving Ultimate DFM While Processing Metals as Thin as 0.005
Posted on April 30, 2020 in Design Guidelines

Nobody likes being the culprit of rework. That’s why design for manufacturability (DFM) is a key skill for any design engineer. But as devices get smaller and the intricate details get closer together, DFM becomes an art form. For electro-mechanical engineers looking for perfection while working with processed metals, getting tolerances dead-on perfect at the prototyping phase is essential to achieving repeatable and dependable device performance, and the highest possible yields.
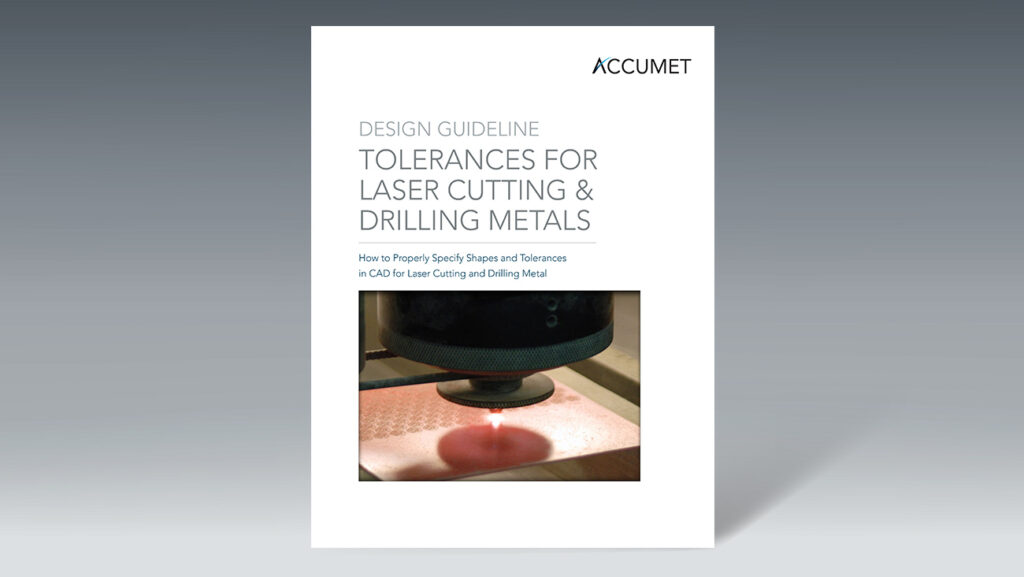
Download this metals processing design guideline for laser cutting and laser drilling and get informed of the processing of a vast array of different materials, including both ferrous and non-ferrous metals. This guideline is specifically written for gauging tolerances for laser machined metals ranging in thickness from 0.005″ to 0.250″.
You’ll learn the tolerances for:
- Hole taper and diameter
- Feature to feature and edge to feature distance
- Length and width from machined edge to machined edge
- Radius, and rotary cutting and drilling tips and tolerances
And more.
Need similar design guidelines for the tolerances related to processing ceramic substrates? We have you covered there, too.
Download our Ceramic Processing Design Guidelines >>


